
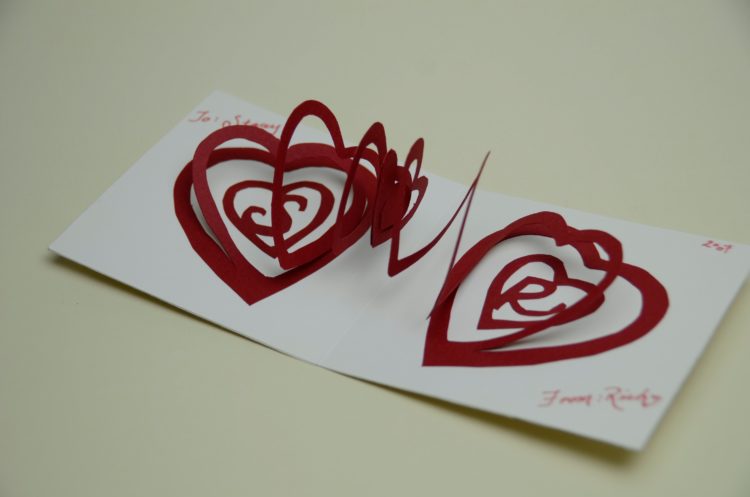
 Spiral Heart Pop Up Card Template
18 Jan Gift Box Pop Up Card Tutorial
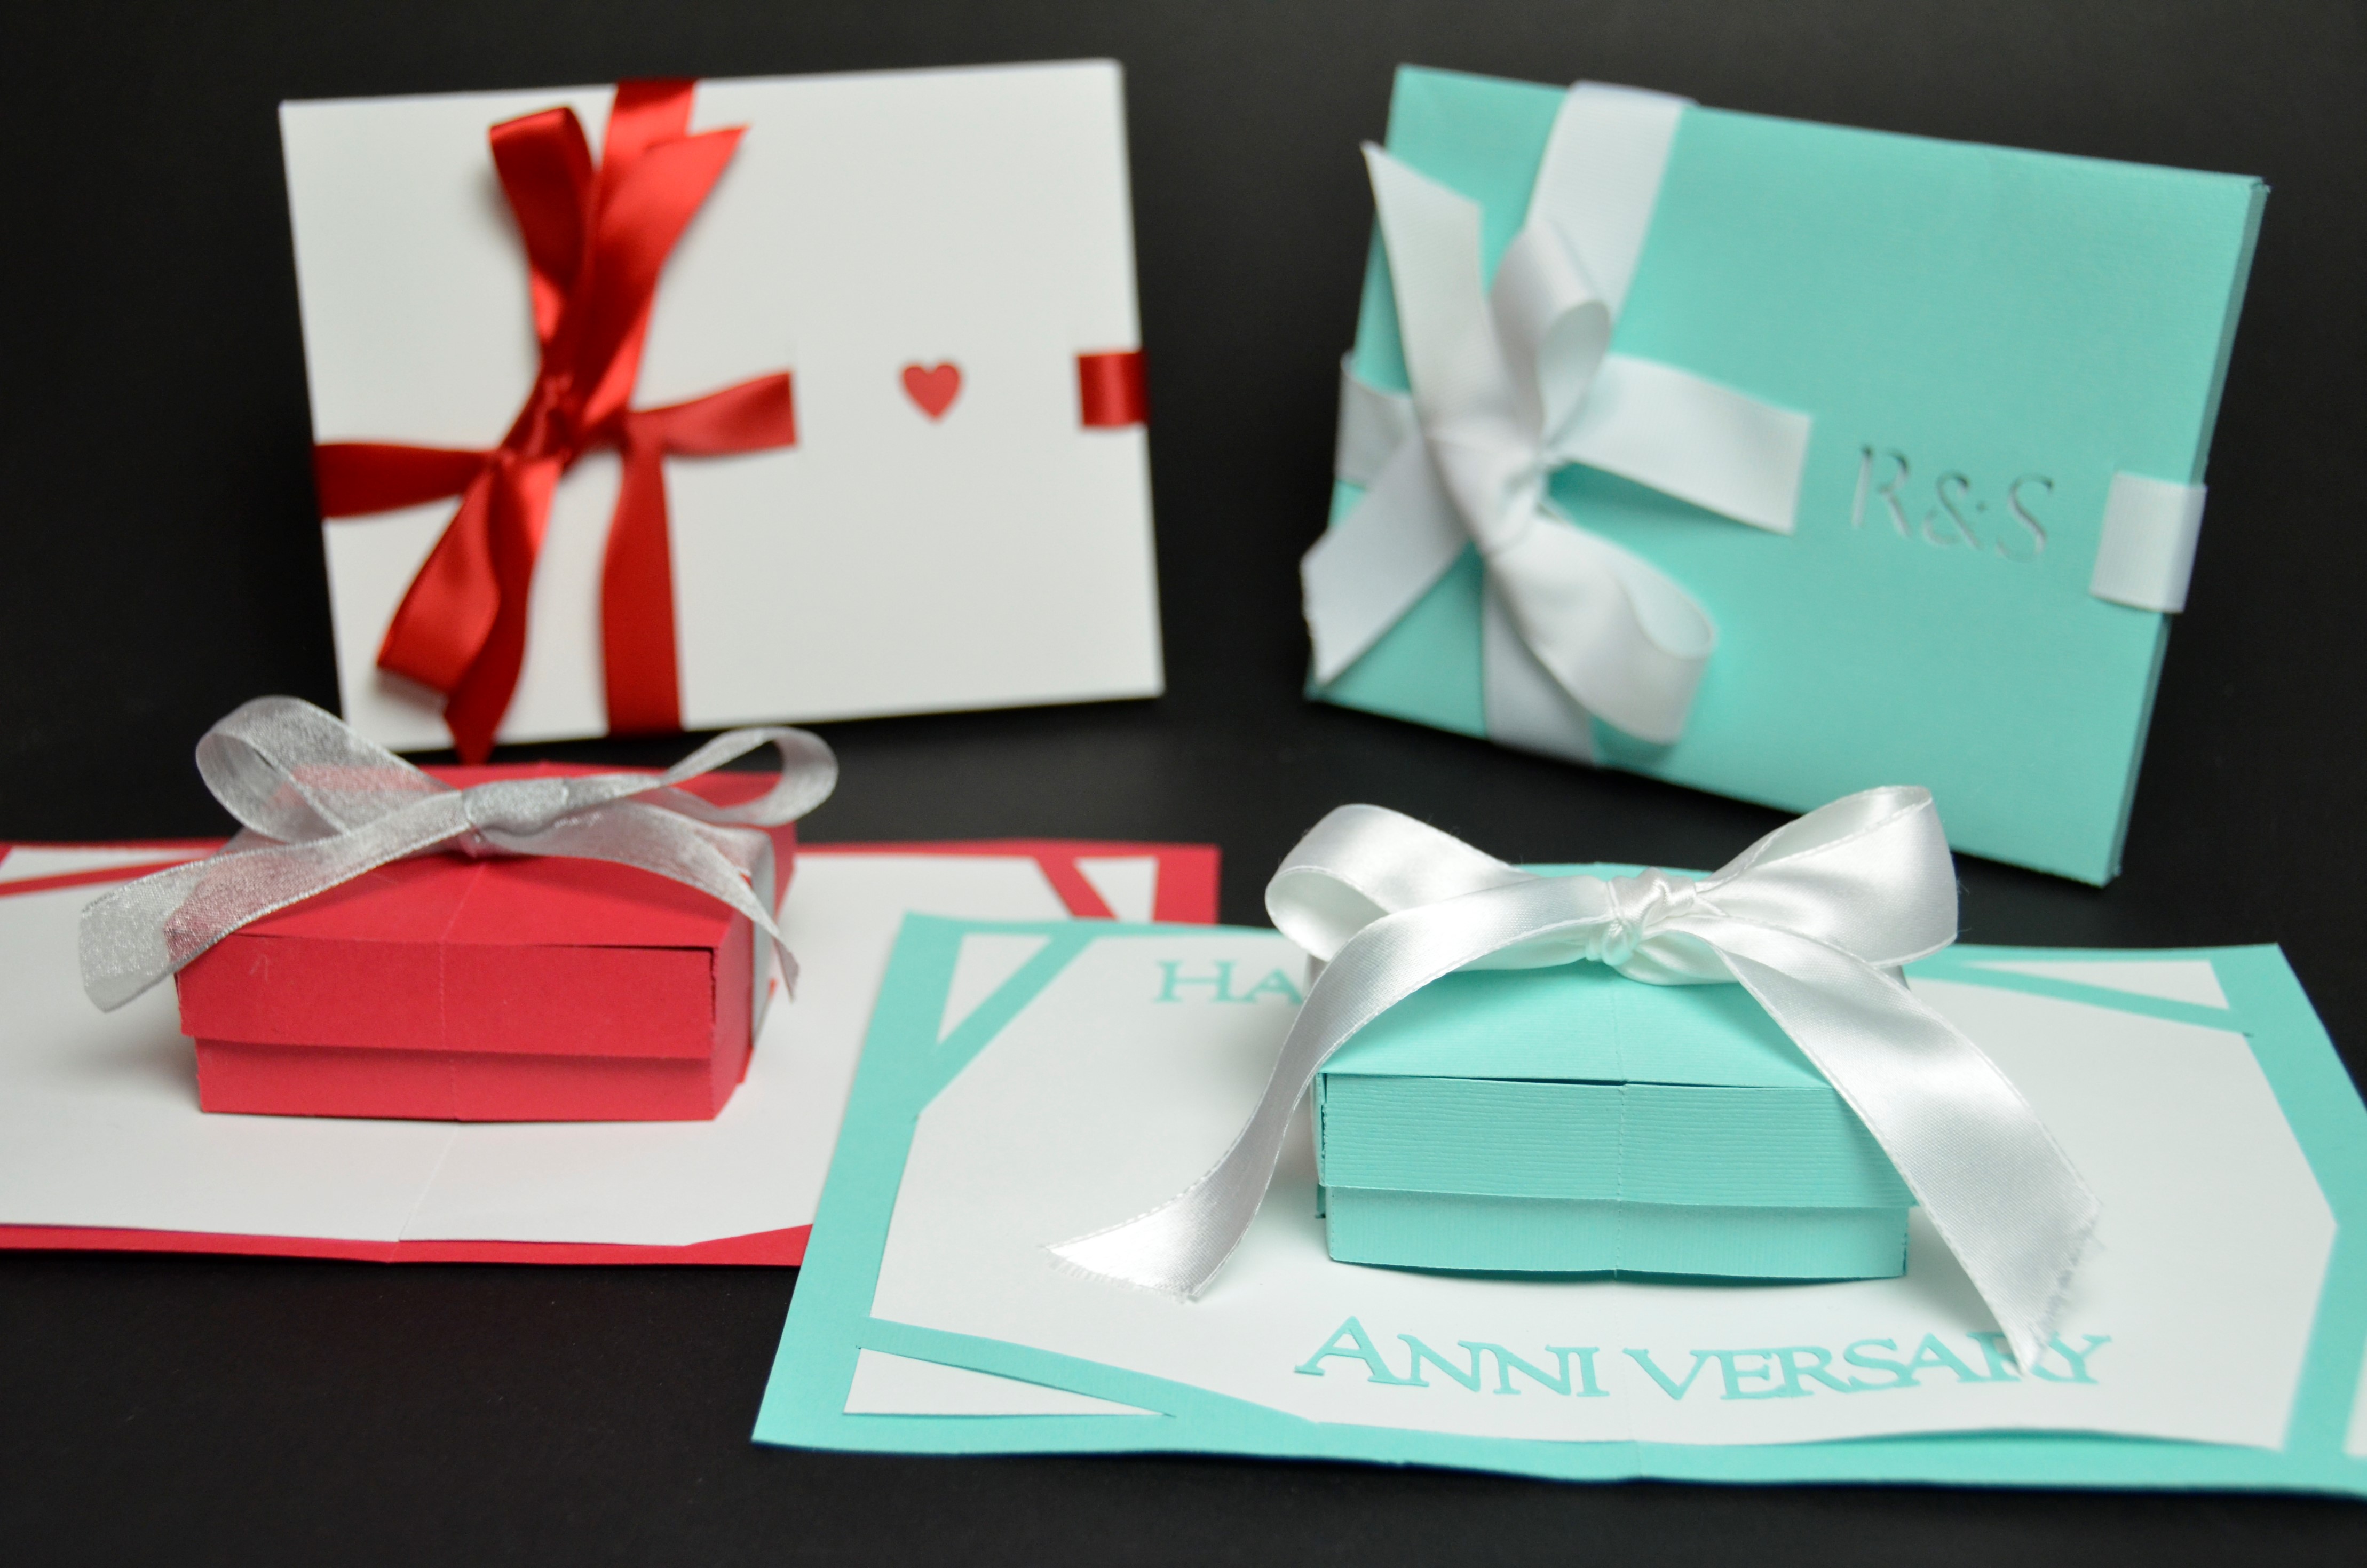
Hey Everyone! In this tutorial, I'm going to show you how to make the gift box pop up card. This gift box popup card is very versatile and can be used for many different occasions. As a Valentine's day pop-up card, you can use it to hold jewelry to give to that special person. This also works very well as a Birthday pop up card or Christmas pop up card. I actually made this in turquoise so it would look like a Tiffany & Co box pop up card. The popup card template is available in the template store.
Here is an image of a red gift box and Tiffany & Co gift box pop up card. The red one is perfect for Valentine's day!

The gift box pop up card template also includes a special envelope that an hold the card, which is thicker than other cards because of the ribbon and anything you may include in the box (i.e. jewelry).
If you missed my last post, here's a video of the card in action:
This card is not as hard as it seems to make. Here is a video tutorial with instructions on how to make this gift box pop up card:
For any of you who have watched my videos before, I wanted to mention that I got a new microphone. I had a lot of youtube complaints of the “pops” and tongue licking sounds I make in my videos. The audio quality hasn't been that great. I'm now using an Audio-Technica ATR2100 to record my audio directly into my computer. This makes my video editing a little more complicated, but hopefully it's worth it. Let me know if you hear any difference.
For those of you who don't want to watch the video, here is an abridged version of the instructions that is pinnable on Pintrest.


Here is a step-by-step tutorial on how to make this Gift Box pop up card:


1. Purchase the template from the template store here: Gift Box Pop Up Card Template. Using the template, cut the parts out of card stock. Here are some tips on using templates. The parts on the template are labeled A-E. First, take part “A” and fold along the dotted lines so that the part looks like image 1. This part will become the lid of the box. Insert the tabs through the matching slots on the left and right. This will create a pocket for the edges of the box to slide into.
2. Cut out part “B” and insert the tabs into the slots on the edges of part “A”, as shown in image 2. You may want to secure these pieces with some clear tape on the inside of the lid.
3. Image 3 shows what the finished lid looks like. Open and fold the lid several times so that the creases are very “soft”. If the creases are stiff, then the box will not open completely when the card is opened.


4. Cut out parts “C”. These 2 parts are identical (there is no left or right version), and will form the sides of the box. Fold at the dotted lines and align them as shown in image 4, but do not insert into the inside card yet.
5. The end sections with the tab of one piece will overlap the end section of the other piece. Insert the matching slots to connect the 2 pieces as shown in image 5. You may want to secure this attachment with a piece of clear tape.
6. Insert the tabs of the box sides into the inside card. Cut two strips of ribbon and feed them through the slots in the inside card. Image 6 shows what the assembled box and ribbon look like.


7. Turn the card over and tape the tab and ribbon down, as shown in image 7. Make sure that the tabs are folded outwards because you will insert additional tabs through the same slots.
8. There are several things you can put inside the box. Image 8 shows 2 teddy bears holding hands. You can find the template for these parts on page 5 of the template. Insert the side tabs into the same slots that the box sides went into. Decorate the bears with a bow and harts or however you like.
9. If you want something more simple, you can make a pair of joined hearts in the center of the box as shown in image 9. The template for the hearts are also found on page 5 of the template.


10. If you would like to put a piece of jewelry in the box then assemble the base of the box using parts “D” and “E”. Match the slots in the center fold of part “D” with the slots in part “E” as shown in image 10.
11. Image 11 shows the bottom of the assembled piece. If you accidentally rip or break the center of part “D”, then you can tape it back together as I did. These 3 tabs will be inserted into the inside card in the middle of the box.
12. Cut out 2 pieces of felt and tape/glue them to the top of part “D”. I've shown what this looks like in image 12.


13. If you want to put a ring inside the box, then cut a small slit inside the center of part “D” and fit the ring inside. This would be great for a proposal card! Then assemble the side tabs into the inside card in the same slots as the box sides. Hint: You may want to remove the box sides from the inside card, insert the platform, then insert the box sides again. It is difficult to assemble the platform after the box sides are assembled.
14. Here is what the box looks like with 2 earrings. You can also put in some stud earrings. Position the earrings first before assembling the platform into the inside card.
15. Here is what the box looks like with a necklace. I would recommend making 2 slots at the top of the platform so that you can secure the chain. Loosely tape the rest of the chain behind the platform before assembling it into the inside card.


16. Insert the inside card into the corners of the outside card (page 3 of the template). Then assemble the box lid onto the box as shown in image 16. Remember to insert the left and right walls into the pockets you made in the lid.
17. Tie the ribbon in a nice bow as shown in image 17.
18. Cut out the envelope (page 4 of the template) and fold along the dotted lines. Insert a ribbon through the slots on the front of the envelope. Make sure you have enough ribbon to wrap around the box. It may be easiest to tie the ribbon first before cutting it to the right length.
If you want to purchase the template for this card, please follow this link to my template store: Gift Box Pop Up Card Template.
For those of you who want to make the box look like a Tiffany & Co box, you can use turquoise colored card stock. I bought my paper at Michael's and used the Bazzill T5-5111 Patina (Patine-Patina) 12″ x 12″ cardstock.
If you enjoyed this tutorial, please leave a comment to tell me what you think. If you've made the pop up card, let me know what you put inside the box. Thanks again for supporting my website.
Catherine walsh
Posted at 08:17h, 19 JanuaryYou have out done your self again. I don’t know how you think of all your beautiful cards I only wish you had a dvd of all your cards , as I like to watch the video when i am trying to make your cards. Thanks again for the beautiful box card…..
CreativeRich
Posted at 09:16h, 19 JanuaryHi Catherine! Thanks for supporting my website. I’m glad you like this design.
Moz
Posted at 09:31h, 19 JanuaryThanks so much for including the picture assembly as well as the video. There are some who would love to hear you on the videos, but are deaf, like me! Not many people are so considerate as to give both options.. Bless you!
Love your card!
Hugz
Moz
CreativeRich
Posted at 11:32h, 19 JanuaryHi Moz. It never occurred to me that some people would not be able to hear my videos. I’m glad you’re able to follow along with my written instructions. Thanks for visiting my website.
gardeniia
Posted at 10:36h, 19 JanuaryMuito show amei muitoooooookisss
Ira Adisty
Posted at 20:55h, 20 JanuaryWOW…. Thank you for sharing. Yes, I agree if only u have a dvd of all your artwork, it wld be great
CreativeRich
Posted at 12:18h, 21 JanuaryThanks Ira!
Eva
Posted at 13:41h, 21 Januaryhola! soy de México me gustaría saber si me llega hasta aquí si compro algunas plantillas y cual es el precio mexicano
bhumika jain
Posted at 04:43h, 22 Januaryreally amazing and beautiful
kamz
Posted at 03:19h, 08 FebruaryA amazing idea for birthday and anniversaries ! really good, thx for sharing!
CreativeRich
Posted at 10:37h, 08 FebruaryThanks Kamz!
flor
Posted at 11:22h, 08 AugustGreat job. It´s amazing!!!! Thank you for sharing!
kanav goyal
Posted at 08:26h, 12 NovemberThnx for these amazing ideas. Hey #creativerich i love your ideas. Plzzz keep uploading.
I have tried this above idea…..
Thnx
kanav goyal
Posted at 08:27h, 12 NovemberThnx for these amazing ideas. Hey #creativerich i love your ideas. Plzzz keep uploading.
I have tried this above idea…..