
23 May Castle Pop Up Card Tutorial
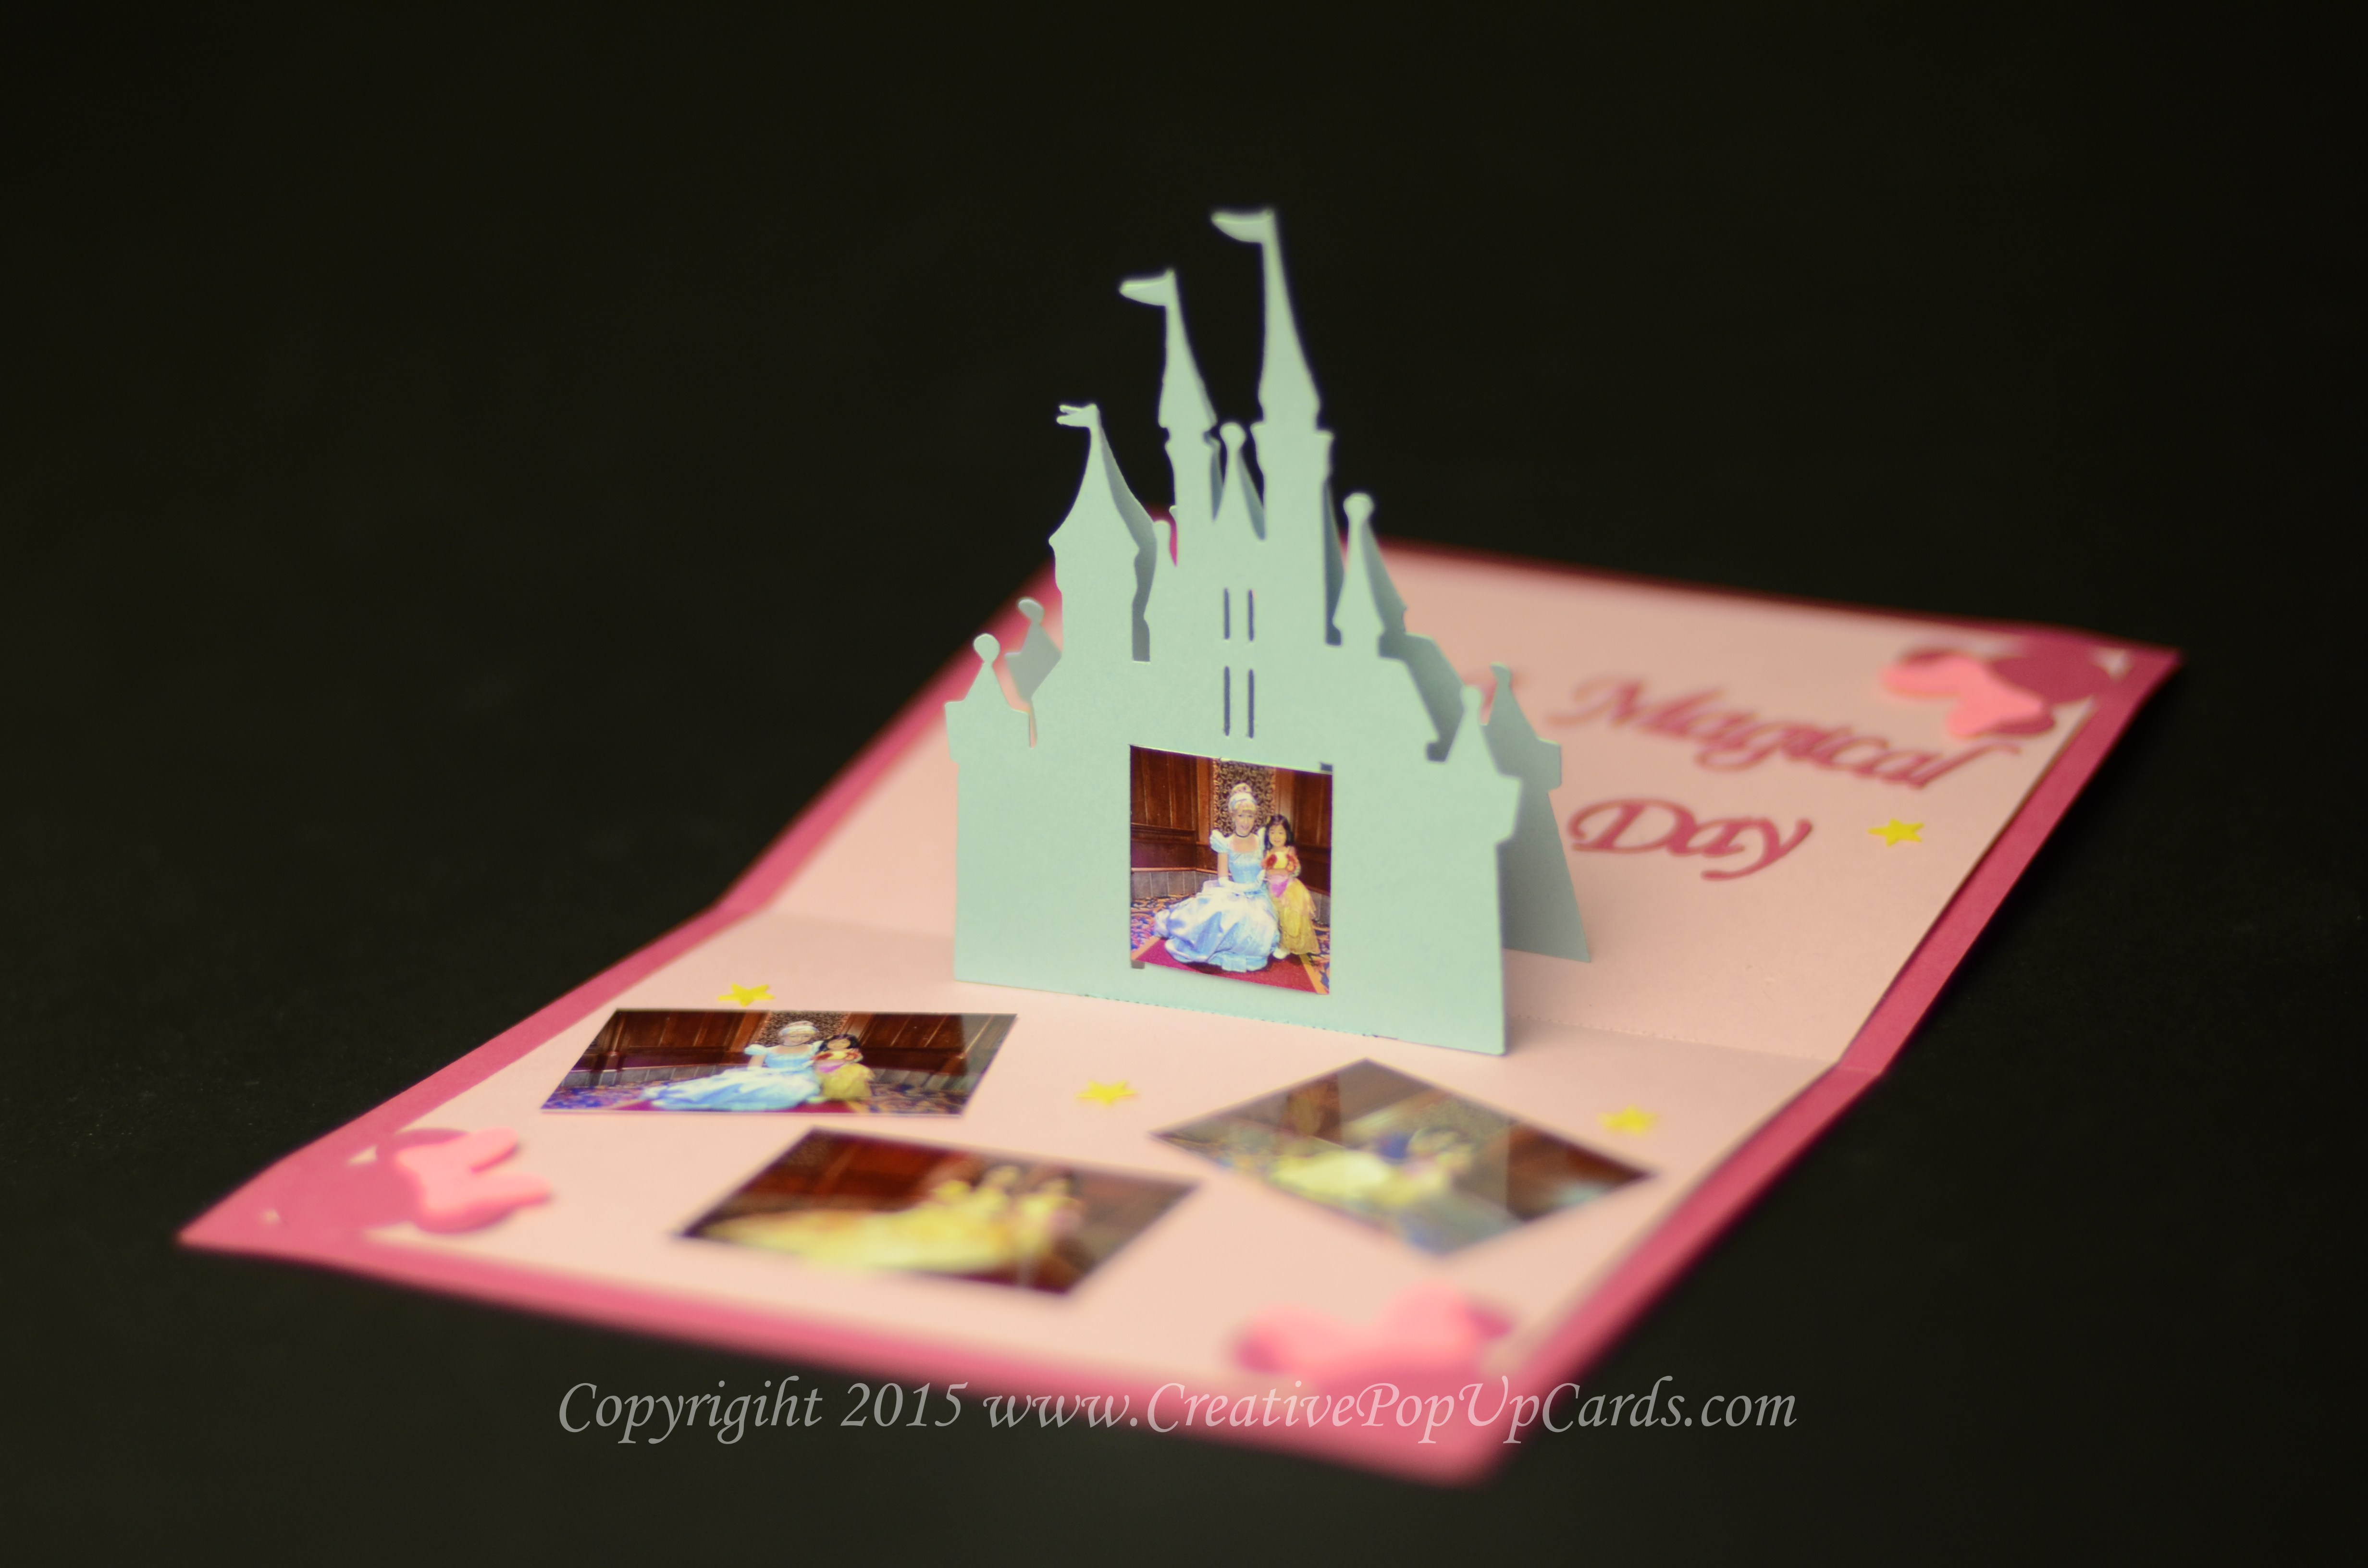
I hope everyone had a wonderful Mother's Day. This year I made a Mother's day pop up card to celebrate all the wonderful memories we created in Disneyland. This card is also a great popup card to use for birthdays and invitations. Here is what the card looks like:

In the card, I glued in a few images we took from our last trip to Disneyland. On the inside, the card says, “Have a Magical Mother's Day.” I then attached the card to the inside cover of a 4″ x 6″ photo album I bought from Amazon. This photo book made a perfect gift because I could include many pictures while also incorporating a personal crafty project. Here's what the final photo album looked like:


Here's a video that shows the card in motion:
This card is very easy to make. I've created a video that shows detailed instructions on how to make this card. Here is the tutorial on how to make the Castle pop up card:
Here are written instructions on how to make this Disney popup card:
- Purchase and download the template for this pop up card here: Castle pop up card template.
- Cut out all the parts in the colored paper of your choice. Click here for instructions on how to cut out the pieces using the template.
- Insert the two castles, with tabs at the bottom) into the slots in the Inside card. Make sure that the castle with the door cut out is in the front.
- If you want, you can slip a picture into the castle in the front of the card. You can also glue it in place. The image I used is 1″ tall.
- Fold the tabs, at the bottom of the castle, along the dotted lines and tape it to the bottom of the Inside card.
- Fold the inside card in half.
- Glue the tops of the castle together. Make sure that the card still folds flat. If the castle tops are not aligned correctly, the card will not fold flat. Be careful not to get any glue onto the inside of the card.
- Tuck the corners of the Inside card into the corner slots of the Outside Card. Fold the entire card down the center.
- Glue the clip art (bows, stars, text, etc.) to the inside card. Glue the clip art to the outside of the card.
If you want to glue the card into a photo album, I recommend getting this album from Amazon: 4″x6″ Photo Album. This album comes in many different colors (sky blue , navy blue, black, and brown). The card fits perfectly in the front cover of these albums. The outside of the album has a nice soft texture. Let me know what you think about this card in the comments below.
Sara felix
Posted at 06:40h, 24 MayI love it.
Sara felix
Posted at 11:30h, 24 MayI love it ,it was easy.
CreativeRich
Posted at 17:12h, 24 MayThanks Sara! I’m glad you liked it.
Diane Lynne C.
Posted at 22:14h, 24 MayPerfect card for the Princess in your life.
CreativeRich
Posted at 09:56h, 25 MayThanks Diane!
Rosa Giotta
Posted at 14:02h, 25 MayToo cute, would like to make someday.
How long after you purchase do you get to keep the downloads?
If your computer crashes are you able to move downloads to another computer without purchasing again?
Thank you,
Rosa
CreativeRich
Posted at 01:11h, 27 MayHi Rosa! You can keep the files forever.
Cathy Walsh
Posted at 16:02h, 25 MayGreat card and love the idea of a picture
CreativeRich
Posted at 01:11h, 27 MayThanks Cathy!
Mary Tanti
Posted at 16:28h, 10 JuneI would like to buy the castle pop up card can you please tell how and what i need to do I am new to this so I have no idea what to do ,do you except payment by debit card if so I can do that or cheque Thank you so much Mary
CreativeRich
Posted at 22:12h, 13 JuneHi Mary, You can purchase the template in the template store, then download the PDF. You then can use the PDF to cut out the parts to make the card. Thanks!